Not a polished build (just got to 50 yesterday) but here's what I have:

Still need to get something into Health and focused burst, but you get the idea.
There are 5 LoTG in there.
Global recharge: 97.5% (+6.25^when I get the last piece of Positron).
Defense (unsupressed):
S/L: 41.37%
Eng: 40.68%
Recharge on most attack powers is in the 60% range, 95% in A.S. (I like to be EX-friendly, so outside of boosting the enhancers, I won't be upgrading to level 50 enhs)
Endurance is not a problem, and if its is, I have Energize and Energy Drain.
So yes, still needs some optimization, but I'm very happy with his survivability and damage capacities.

Actually that helps a lot. I will likely skip Overload and I have Weave 5 slotted, and want to fit CJ in there and Hasten. I am only lev 35 but do you recommend skipping Disrupt? I keep thinking about it now that the Stalker revamp hit.
EDIT: also, is slotting defense in energy drain really worth it? It looks like such a tiny boost.
My new Youtube Channel with CoH info
You might know me as FlintEastwood now on Freedom

At point I had extra slots, so Energy drain is slotted aiming for recharge and the LoTG bonuses (health, acc) and end mods. I could probably just move the LOTG: rech into Combat Jumping and slot it differently for no big loss. The defense is minimal, but when you're at 40%, you don't need much.
I played with Disrupt and I like it. But the animation drives me mad. It if was less silly looking I'd take it.
Overload is mostly a +Rech mule posing as an occasional oh sh*t power. Weave would be just as good +rech wise.
My original build had tough/weave, but then they buffed Energy Aura Energize and Drain became a lot more alluring so I phased those out. Endurance might be trickier to handle with those, of course, but if I don't need my end management powers as is, I'm sure you can get by with two toggles with some usage of Energize and Drain.
I updated it with the above, and would love feedback.
My new Youtube Channel with CoH info
You might know me as FlintEastwood now on Freedom
First, I suck at giving advice about end management, so can't say anything about this. But you're energy aura, end should not be a problem.
My biggest question would be why the 2 Mako sets? If its for the Eng/Neg def you're way overboard on Energy. Negative is in the 39 range, but don't think it should be a problem. But this is a minor concern. Also, irrc Mako's are expensive (been a while since I invested in them). So Crushing Impact might give you a bigger bang per buck. You can always slot 5 of those and keep the proc.
And if you're going for proc, move it to quick strike, since that's your fast recharging using between gaps attack. (unless we're talking about store bought IOs, which use PPM).
Concern #2 would be AoE. I like Energy Torrent, its Knock down, so it doesn't make a mess and another AoE is nice.
But as it stands there's nothing horrible or bad about what you have, just preference differences.
Yeah I was going for the proc, but yeah maybe Crushing Imp would be better and would get me more recharge - I doubt I will even notice the damage buffs from the Makos.
Depends on how I am doing money-wise. I just blew 900 million on a dark/dark dom so I am prob going to recoup that somehow even though I have a few billion yet.
My new Youtube Channel with CoH info
You might know me as FlintEastwood now on Freedom
If you want to go all out and tackle Incarnate mobs head-on, there's this:
Code:
Defense numbers are with Hide on and in combat (suppressed).| Copy & Paste this data into Mids' Hero Designer to view the build | |-------------------------------------------------------------------| |MxDz;1521;709;1418;HEX;| |78DA6594D95213511086CF994C881308105902040244961848C8085E5BC8E202815| |451A557561CC231194985543256C9A597EA03F802AE373E8BEB8DFA022EA0D75A18| |3BD37F2092A94A7D677AFAFF4FF79CCEA4EF2F77BCBEF2E0929081A5A255AD66B71| |CABB8AB2ABE0DCBB957B18A82AEB62D3B5FB1AB3E5A0EE37136AD8A4A25D7EC9272| |EC5C76D171ACDC6EB8F17059DD51A5AA4AAE945425BF9F5D2423D191D9DB2B26D79| |555B64B79BF7BB355566A27E02E57ED7CC1A1075D8DAC1D55A916EC7278A56CE792| |3749B557CAA6ADAAA32AFB8D1207A89E38FDB6830257CD2B6E134C5D6816B8CDD47| |3A062B6ED322F1BC75A2122F5982172E427E127DF7838FF3DF3CC3BB0C07AFF5D10| |7E4BE4E771C535CDD32DDD58A49739D6478C1A6287FCBD9CE3F5BE65BF8E0FE0476| |627FC3BE1DF0D7F455A1F6AF33DD5F8D933E6D9E7E00B66EF4BF01573856A33785F| |618CB35F88CCDAD9CFD3FE89F3663F33135F987361AEA99F7203AC9701F4327144B| |723BA5826EF2EF4DD75AAEF0872F3547B10B507BF6AAEAEFF1BF89D39F083397700| |1E3265BF103DACD57BFE705D0347CCA1BF9A7B6E4335BE9F125C6F94EAED638DD63| |7C3FD0E9FA2A49C10CE3F34C4310FC506B9177D3085B333C179E6F80278917995FA| |0FD7F7259F30FAD5C96704EF6404B3156F103936BD9051BC9351CCEE3466771AB33| |B8DD93D8FD98D6316AED19E51D4195DE33ACEA5C10DE6C4269891EEBED74933897E| |27F10E8254670C75C622D8AB413FEB574937839C999074CF64F602F56B106739374| |6BD24315FC9098E152896C219A41E0AB767F3519DBA301F330FFCF47F834E2658F7| |F324E695E86D7CF3FF1EA7D0E3548699B8C13C6CF68BB1DFAF939826C7389600CD2| |73C3761FDF85B501BD69BBE0B35BA44BC25926A89982D91F996C8424B64BD3982FE| |33FAF137484837CBE816EE7CD545BFE9DF60626DF95D9DBBBED5B4CE34ADB79BD6F| |F009E23E866| |-------------------------------------------------------------------|
57% S/L
56% F/C
54.8% Energy
45% Negative
82.5% recharge
Throw in Agility T4 and you get:
59% Incarnate softcap to S/L/F/C/En
48% Neg
Perma hasten
Spring Attack is in there for extra AoE. Energy Drain is a mule/emergency +end power because slotting it won't make much of a difference with this defense. Endurance is very manageable if you keep Energize going. If you don't, there's ED. Overload is still there for when defense debuffs are heavy and more HP is needed. The only thing that will break the bank is the Gladiator's Armor +3%. I used Hero Merits to get mine, but you'll still hold up well without it.
Note: certain enhancements have been boosted.
Yeah I don't know which alpha I would take, but barrier would help with that small gap to the itrial def caps.
My new Youtube Channel with CoH info
You might know me as FlintEastwood now on Freedom
Hi gang, I was hoping to get some great non-purpled build examples for Mids using this combo. I pulled one out of retirement and would love to see your builds if possible.
I naturally would love to see softcap and plenty of endurance to handle good recharge. I currently restarted mine up but he was created before the energy aura changes hit with Disrupt and all of that, so I am kind of lost.
I would really appreciate your input!
EDIT: What about this?
Villain Plan by Mids' Villain Designer 1.954
http://www.cohplanner.com/
Click this DataLink to open the build!
Level 50 Science Stalker
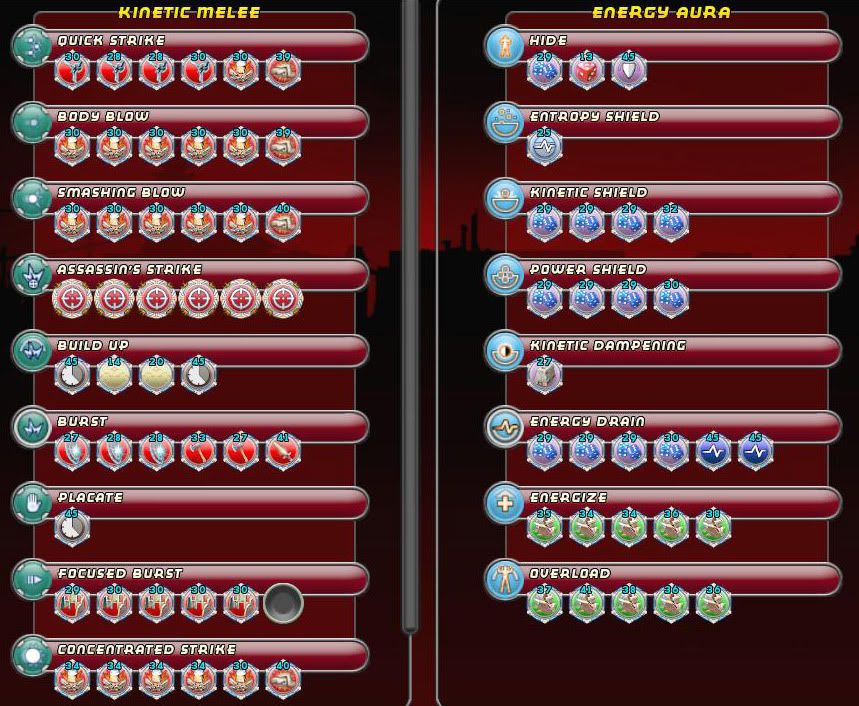
Primary Power Set: Kinetic Melee
Secondary Power Set: Energy Aura
Power Pool: Leaping
Power Pool: Fighting
Power Pool: Speed
Ancillary Pool: Body Mastery
Villain Profile:
Level 1: Quick Strike
- (A) Kinetic Combat - Accuracy/Damage: Level 35
- (3) Kinetic Combat - Damage/Endurance: Level 35
- (13) Kinetic Combat - Damage/Recharge: Level 35
- (15) Kinetic Combat - Damage/Endurance/Recharge: Level 35
- (42) Crushing Impact - Accuracy/Damage: Level 50
- (42) Crushing Impact - Accuracy/Damage/Recharge: Level 50
Level 1: Hide- (A) Kismet - Accuracy +6%: Level 30
- (46) Defense Buff IO: Level 50
Level 2: Body Blow- (A) Mako's Bite - Accuracy/Damage: Level 50
- (3) Mako's Bite - Damage/Endurance: Level 50
- (15) Mako's Bite - Damage/Recharge: Level 50
- (25) Mako's Bite - Accuracy/Endurance/Recharge: Level 50
- (42) Mako's Bite - Accuracy/Damage/Endurance/Recharge: Level 50
- (43) Mako's Bite - Chance of Damage(Lethal): Level 50
Level 4: Kinetic Shield- (A) Luck of the Gambler - Defense: Level 50
- (5) Luck of the Gambler - Defense/Endurance: Level 50
- (5) Luck of the Gambler - Defense/Recharge: Level 50
- (9) Luck of the Gambler - Recharge Speed: Level 50
Level 6: Assassin's Strike- (A) Stalker's Guile - Accuracy/Damage: Level 50
- (7) Stalker's Guile - Damage/Recharge: Level 50
- (7) Stalker's Guile - Accuracy/Damage/Recharge: Level 50
- (9) Stalker's Guile - Damage/Endurance/Recharge: Level 50
- (11) Stalker's Guile - Accuracy/Damage/Endurance/Recharge: Level 50
- (13) Stalker's Guile - Recharge/Chance to Hide: Level 50
Level 8: Smashing Blow- (A) Mako's Bite - Accuracy/Damage: Level 50
- (11) Mako's Bite - Damage/Endurance: Level 50
- (21) Mako's Bite - Damage/Recharge: Level 50
- (25) Mako's Bite - Accuracy/Endurance/Recharge: Level 50
- (40) Mako's Bite - Accuracy/Damage/Endurance/Recharge: Level 50
- (43) Mako's Bite - Chance of Damage(Lethal): Level 50
Level 10: Entropy Shield- (A) Endurance Reduction IO: Level 50
Level 12: Placate- (A) Recharge Reduction IO: Level 50
- (50) Recharge Reduction IO: Level 50
Level 14: Super Jump- (A) Jumping IO: Level 50
Level 16: Power Shield- (A) Luck of the Gambler - Defense: Level 50
- (17) Luck of the Gambler - Defense/Endurance: Level 50
- (17) Luck of the Gambler - Defense/Recharge: Level 50
- (21) Luck of the Gambler - Recharge Speed: Level 50
Level 18: Build Up- (A) Recharge Reduction IO: Level 50
- (50) Recharge Reduction IO: Level 50
Level 20: Burst- (A) Obliteration - Damage: Level 50
- (23) Obliteration - Accuracy/Recharge: Level 50
- (23) Obliteration - Damage/Recharge: Level 50
- (31) Obliteration - Accuracy/Damage/Recharge: Level 50
- (37) Obliteration - Accuracy/Damage/Endurance/Recharge: Level 50
- (43) Obliteration - Chance for Smashing Damage: Level 50
Level 22: Boxing- (A) Empty
Level 24: Tough- (A) Empty
Level 26: Weave- (A) Luck of the Gambler - Defense/Endurance: Level 50
- (27) Luck of the Gambler - Defense/Recharge: Level 50
- (27) Luck of the Gambler - Defense/Endurance/Recharge: Level 50
- (31) Luck of the Gambler - Defense: Level 50
- (31) Luck of the Gambler - Recharge Speed: Level 50
Level 28: Energy Drain- (A) Efficacy Adaptor - EndMod: Level 50
- (29) Efficacy Adaptor - EndMod/Recharge: Level 50
- (29) Efficacy Adaptor - EndMod/Accuracy/Recharge: Level 50
- (46) Efficacy Adaptor - Accuracy/Recharge: Level 50
- (48) Efficacy Adaptor - EndMod/Accuracy: Level 50
- (50) Efficacy Adaptor - EndMod/Endurance: Level 50
Level 30: Focused Burst- (A) Thunderstrike - Accuracy/Damage: Level 50
- (34) Thunderstrike - Damage/Endurance: Level 50
- (34) Thunderstrike - Damage/Recharge: Level 50
- (37) Thunderstrike - Accuracy/Damage/Recharge: Level 50
- (37) Thunderstrike - Accuracy/Damage/Endurance: Level 50
- (46) Thunderstrike - Damage/Endurance/Recharge: Level 50
Level 32: Concentrated Strike- (A) Crushing Impact - Damage/Endurance: Level 50
- (33) Crushing Impact - Accuracy/Damage: Level 50
- (33) Crushing Impact - Damage/Recharge: Level 50
- (33) Crushing Impact - Accuracy/Damage/Recharge: Level 50
- (34) Crushing Impact - Accuracy/Damage/Endurance: Level 50
- (40) Crushing Impact - Damage/Endurance/Recharge: Level 50
Level 35: Energize- (A) Doctored Wounds - Heal/Endurance: Level 50
- (36) Doctored Wounds - Endurance/Recharge: Level 50
- (36) Doctored Wounds - Heal/Recharge: Level 50
- (36) Doctored Wounds - Heal/Endurance/Recharge: Level 50
- (39) Doctored Wounds - Heal: Level 50
- (40) Doctored Wounds - Recharge: Level 50
Level 38: Hasten- (A) Recharge Reduction IO: Level 50
- (39) Recharge Reduction IO: Level 50
- (39) Recharge Reduction IO: Level 50
Level 41: Superior Conditioning- (A) Performance Shifter - Chance for +End: Level 50
Level 44: Physical Perfection- (A) Regenerative Tissue - +Regeneration: Level 30
- (45) Numina's Convalescence - Heal: Level 50
- (45) Numina's Convalescence - Heal/Endurance: Level 50
- (45) Performance Shifter - Chance for +End: Level 50
Level 47: Combat Jumping- (A) Luck of the Gambler - Recharge Speed: Level 50
Level 49: Kinetic Dampening- (A) Steadfast Protection - Resistance/+Def 3%: Level 30
------------Level 2: Swift
- (A) Run Speed IO: Level 50
Level 2: Health- (A) Numina's Convalescence - +Regeneration/+Recovery: Level 50
- (48) Numina's Convalescence - Heal: Level 50
- (48) Miracle - +Recovery: Level 40
Level 2: Hurdle- (A) Jumping IO: Level 50
Level 2: Stamina- (A) Endurance Modification IO: Level 50
- (19) Endurance Modification IO: Level 50
- (19) Endurance Modification IO: Level 50
Level 1: AssassinationLevel 1: Brawl
- (A) Empty
Level 1: Sprint- (A) Empty
Level 2: Rest- (A) Empty
Level 4: Ninja RunMy new Youtube Channel with CoH info
You might know me as FlintEastwood now on Freedom